Next, you should then search the play store looking for the company portal. It will then appear as below
Tap on the app, then tap on “Install”
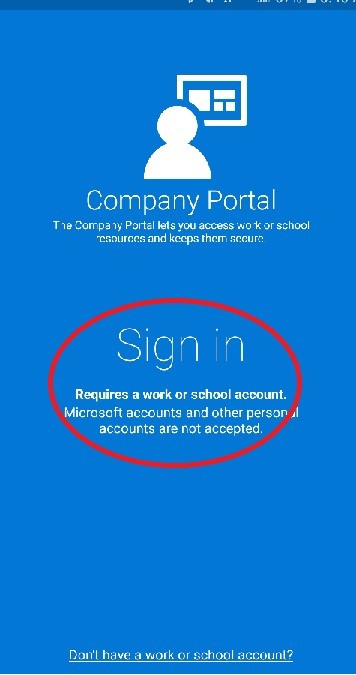
Once it completes the download, tap on “Open”. You will be presented with a sign in page. Please tap on “Sign In”.
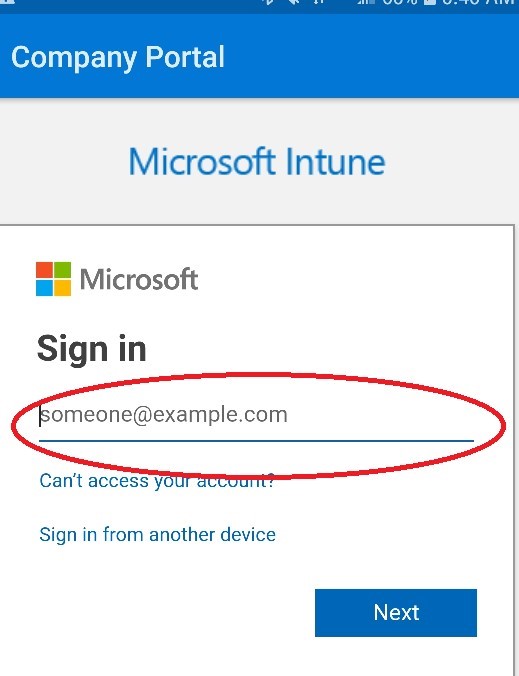
The next screen will ask you to sign in. Please enter your email address at this point then tap “Next”
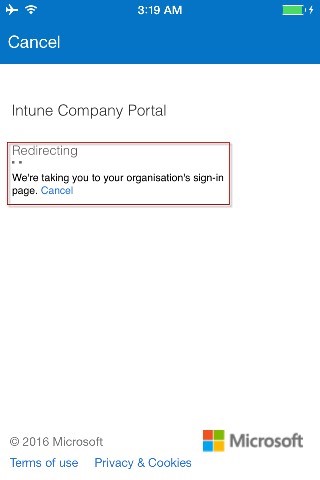
Next, you will see the following screen informing you that the enrollment is in progress and you will be presented a login page.
You now can enter your email address and network password. Once your credentials have been entered, tap on “Sign In”. If you are prompted to enter a security code, you will need to enter the Symantec VIP code. If you device is not registered, you will need to register before continuing.
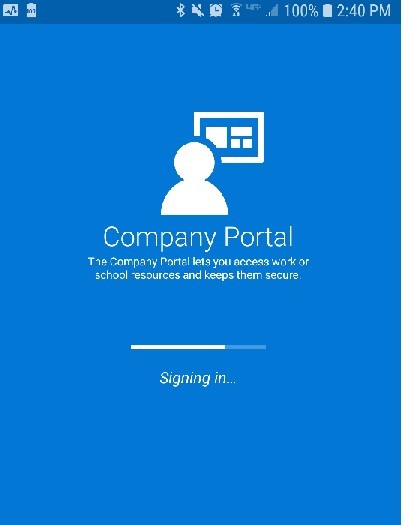
You will then see the below screen which indicates that your device is signing in. This can take a few mins to complete.
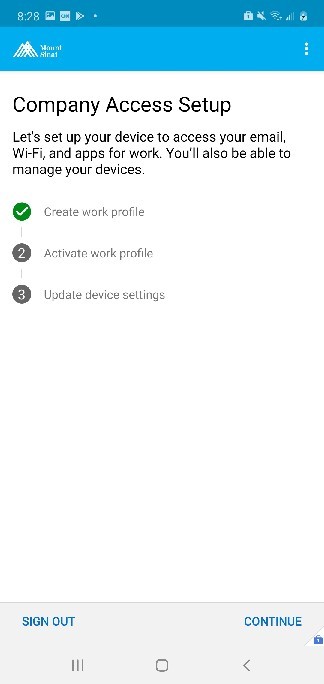
Next, you will then be directed to the Company Access Setup. Please tap “Begin”
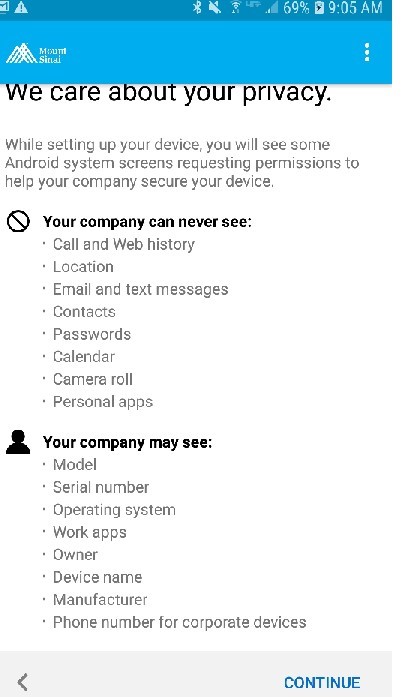
The next screen will provide what the Company Portal enrollment can and cannot see.
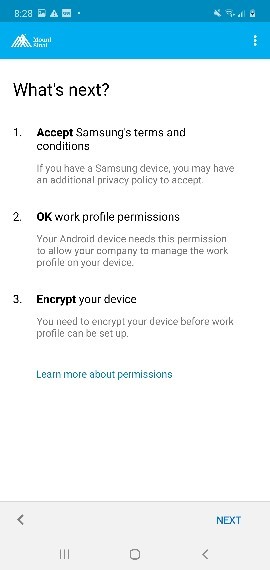
The next screen will provide you some information regarding what will occur on your device including requiring encryption and allowing permission to the work profiles. Tap “Next” to continue.
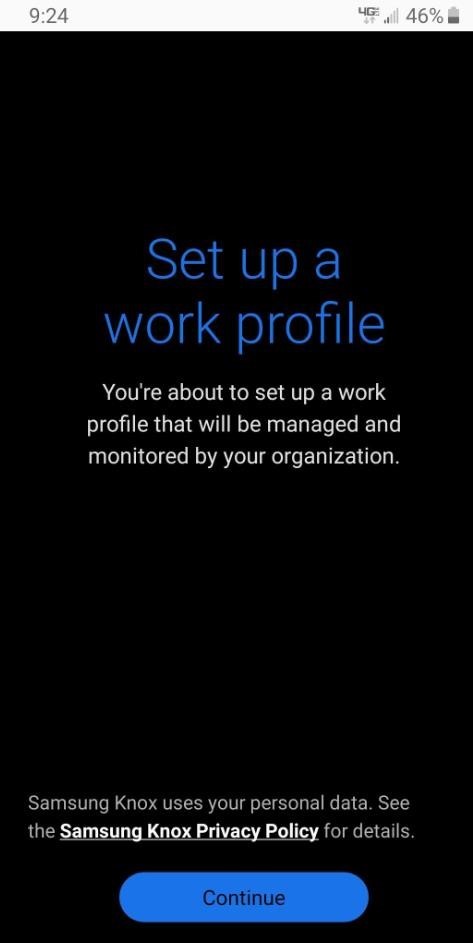
Your device will setup the work profile. This can take a few minutes to complete.
Your work profile will now install. Please tap on “Accept” to allow the profile to install.
Next screen will show the profile being created. This will take a few minutes to complete.
Once your work profile has completed, you will be presented with the following screen that will activate the profile and update device settings (device encryption, etc). Tap “Continue”
Your device will be added to the Company Portal (Intune).
The next screen will display the following. This will display the current enrollment process for the workspace.
The next step will show the profile completing the enrollment/setup.
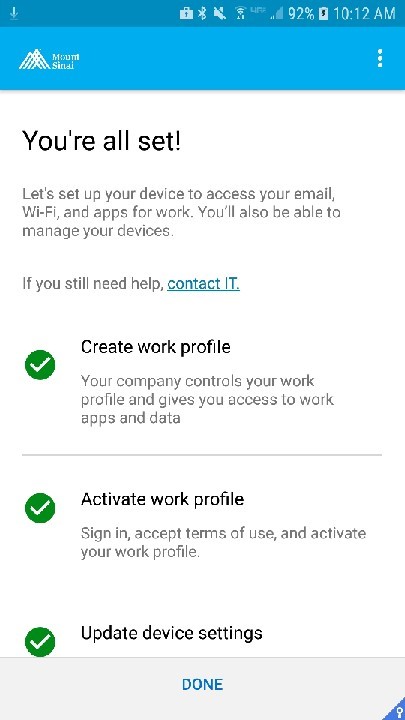
Once this completes, you will see the following to indicate that the enrollment/configuration process has completed. Tap “Done” to finish.
On the device workspace, at the bottom of the screen, you will now see options for “Personal” or “Work”. When you tap on work, your device will be opened to the corporate data area of your device. This is now a separate location to keep your personal and corporate data as different areas.
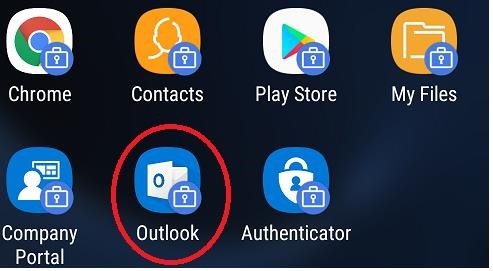
After tapping on “Work”, your device will land on the Android for Enterprise workspace. See below. To confirm you are in the correct location, each icon below shows a small suitcase icon at the bottom right side.
By default, Microsoft Outlook is deployed when installing. You will be able to see the app in the company portal. See below.
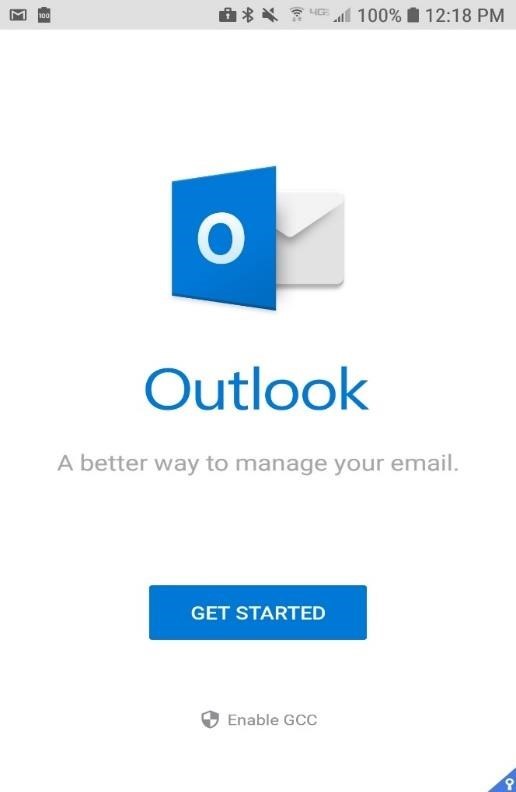
Tap on Outlook, which will then present you with the login screen. Tap on “Getting Started”
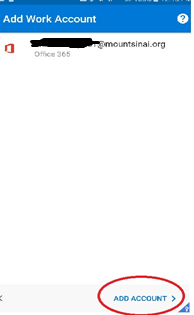
Next, tap on “Add Account”. This will use the corporate account shown.
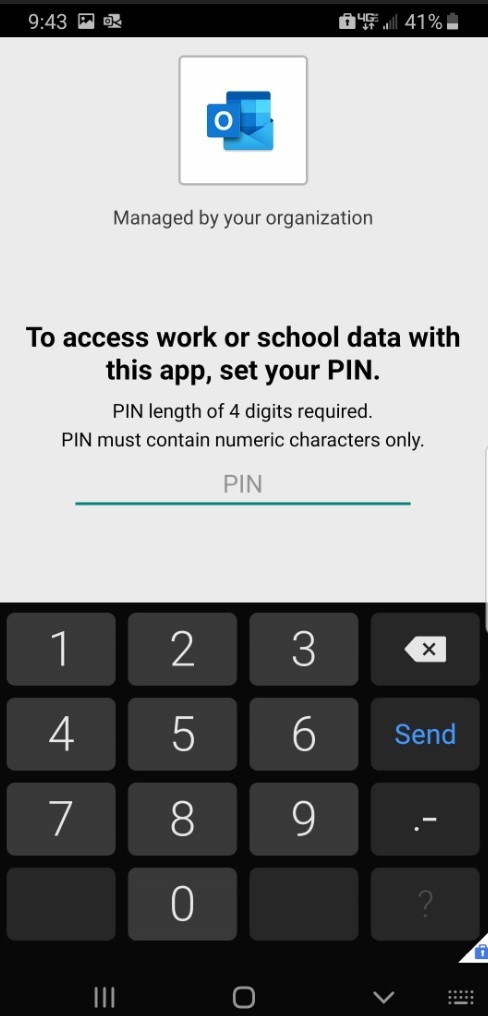
. You will be required to enable a 4 digit pin for the Outlook app. This is a security
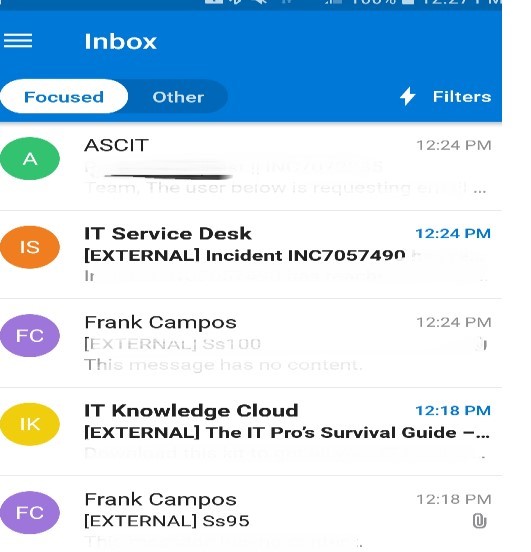
Once the app finishes configuration, you can open up the Inbox. See example below
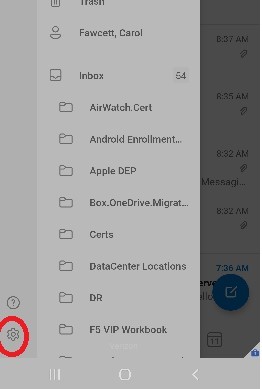
You have the option to also turn off the focused inbox. To access the options, at the top left, tap on the triple bar
Next, on the left hand side, tap on the “gear” icon.
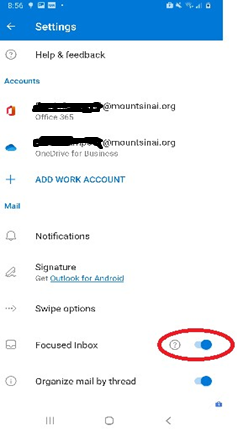
To disable this function, simply slide the “Focused Inbox” button to the left
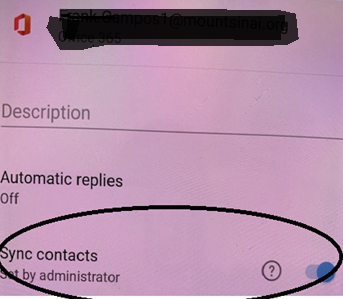
To sync your contacts to the outlook app, go to the settings in Outlook. To access settings, at the top left hand side, you tap on the picture then scroll to the bottom to you see the gear icon.
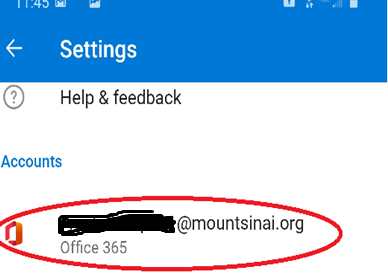
Next, select your account
After selecting and tapping on your account, tap on the sync contacts button and make sure it’s enabled (toggle right)
Note: It may take some time for your contacts to sync into Outlook.