RDP over VPN for Windows
System Requirements: Windows 7 SP1, Windows 8.1, Windows 10
Logging into VPN
Launch a web browser and go to the appropriate VPN Portal:
-
-
-
- Hospital Employees: https://msvpn.mountsinai.org
- School Employees: https://msvpn.mssm.edu
- Vendors: https://msvpn-vendor.mountsinai.org
-
-
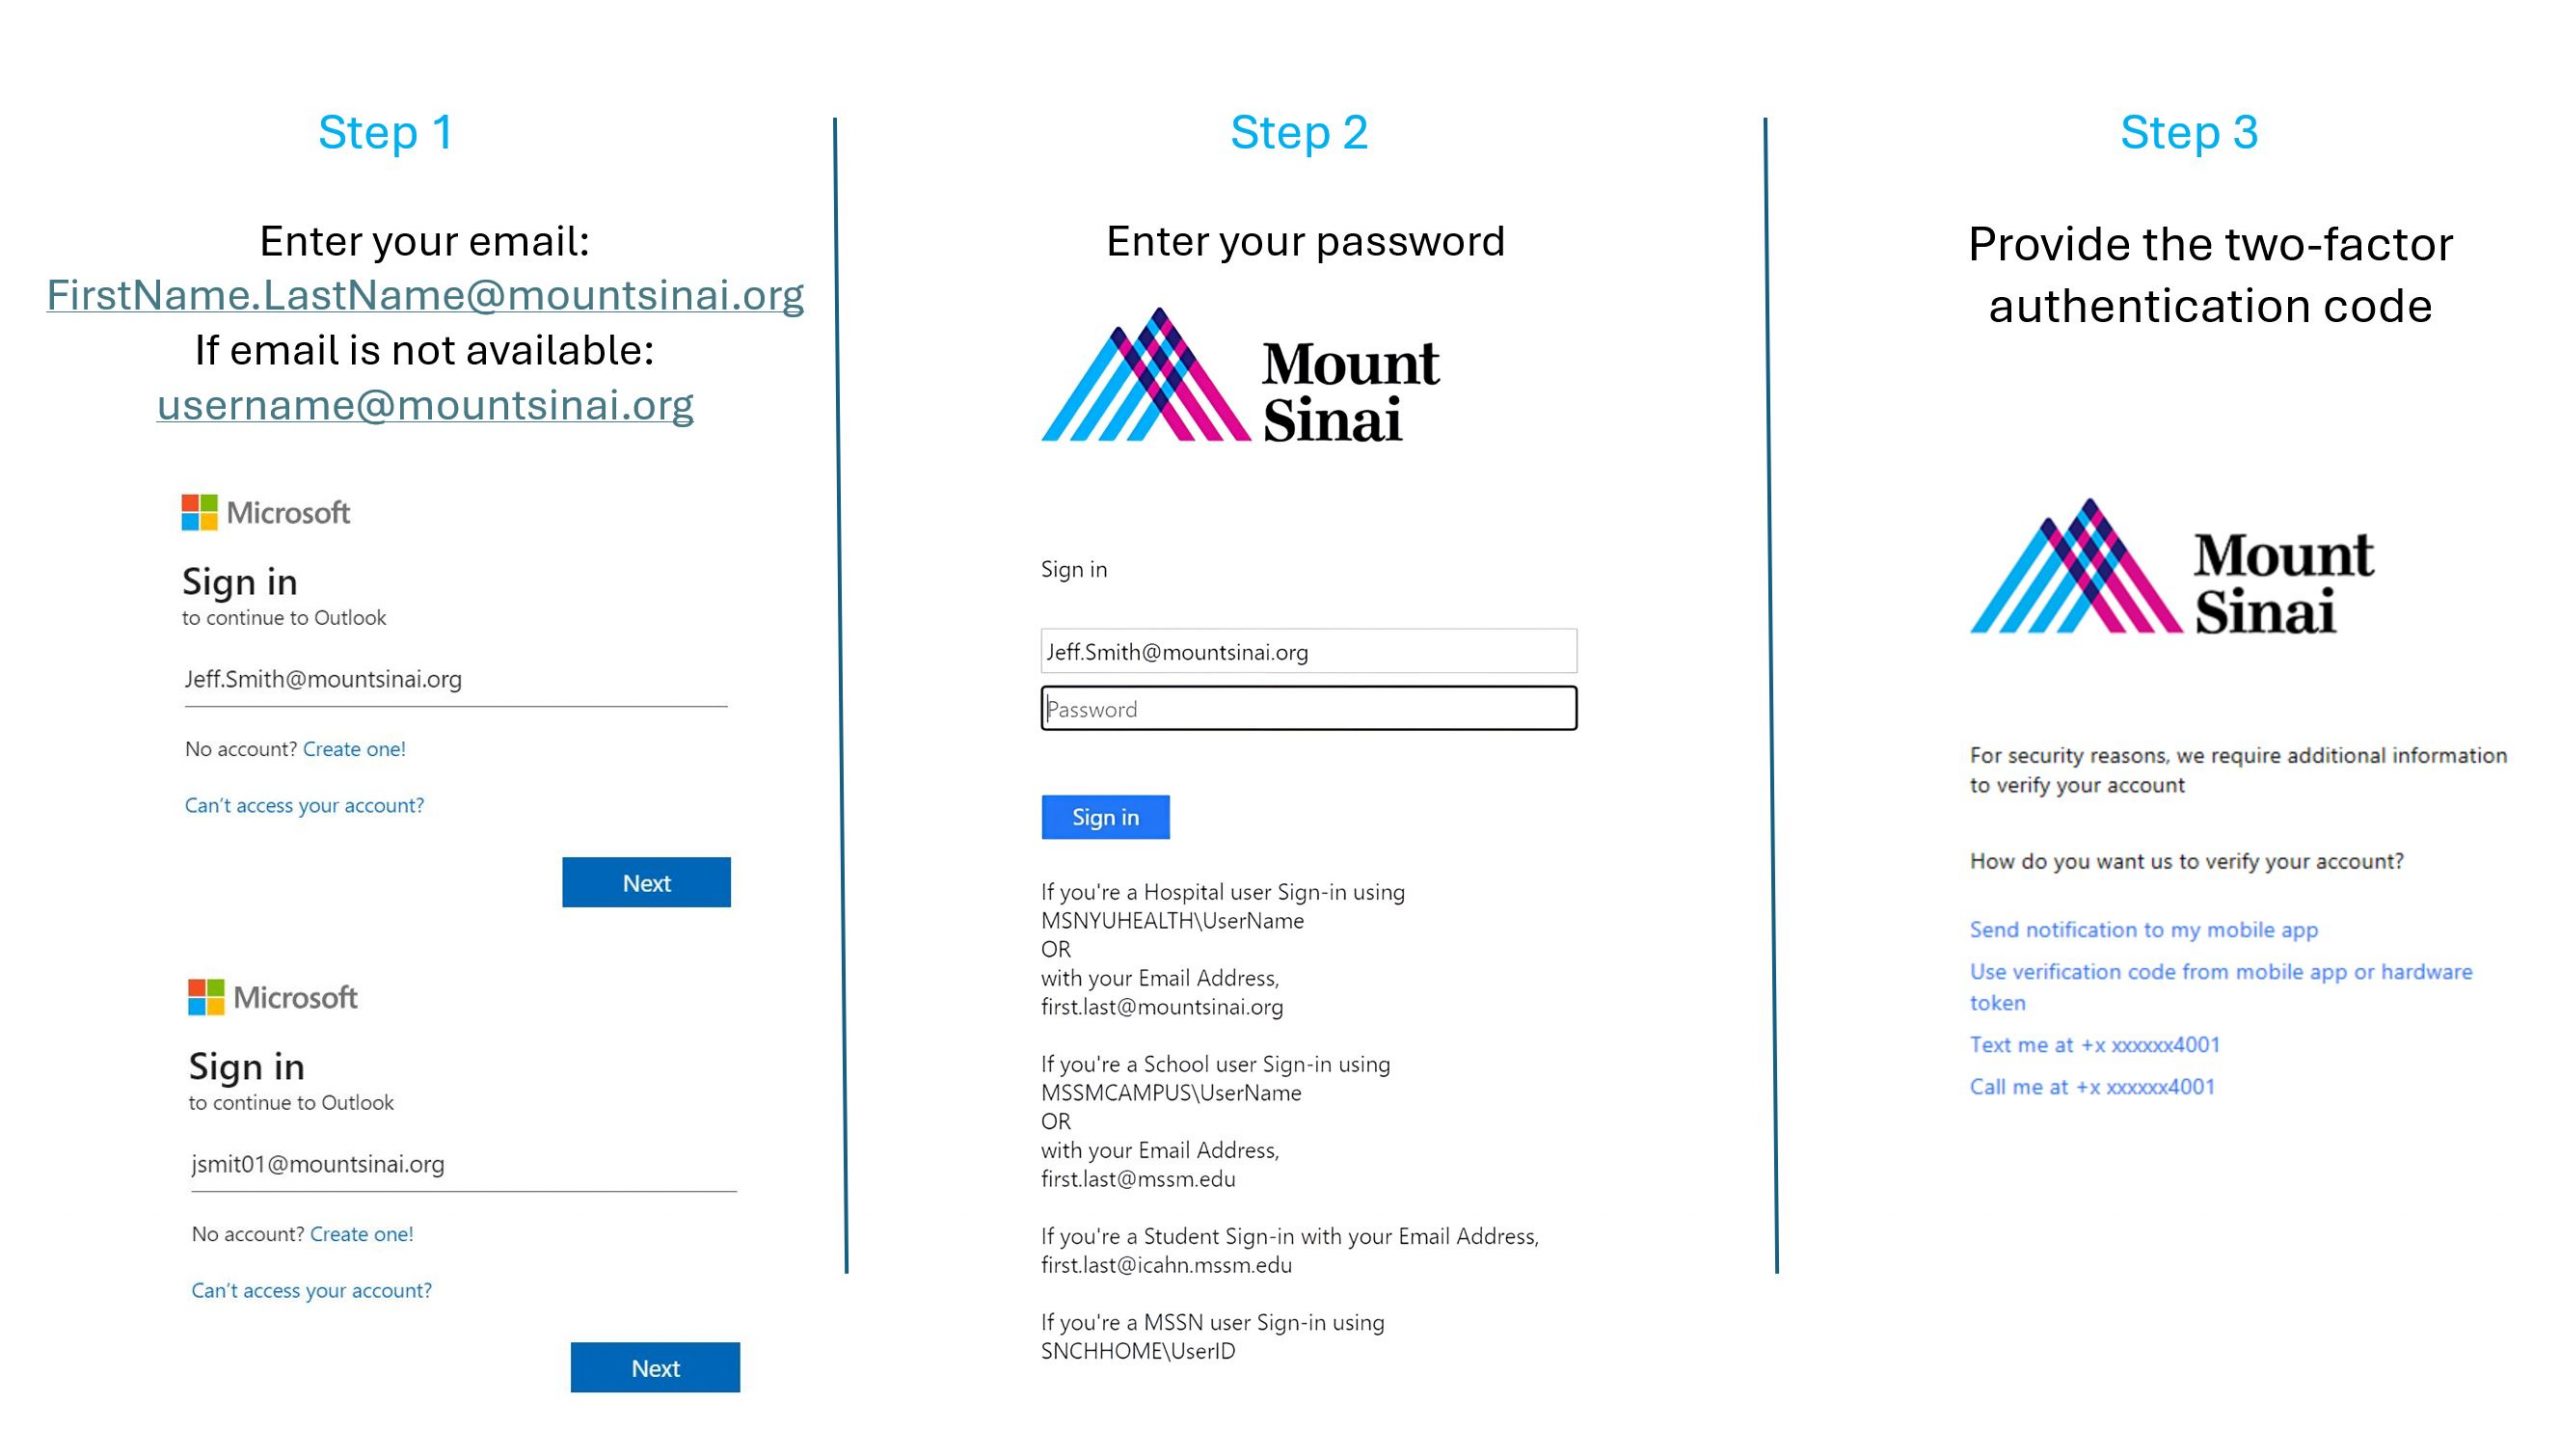
- Login using your email. If you do not have email, use username@mountsinai.org or username@mssm.edu.
- Enter your password
- Select your Microsoft MFA option
 Note: If you do not have a Microsoft MFA, please visit Azure MFA Registration | Academic IT Security for more information.
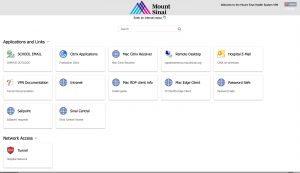
- Once, logged in you will see a window displayed with icons for a number of applications. Click on the icon titled “Remote Desktop”
- The RDP connection configuration file will be will downloaded to your PC. When the download is complete, click on the “Open” button
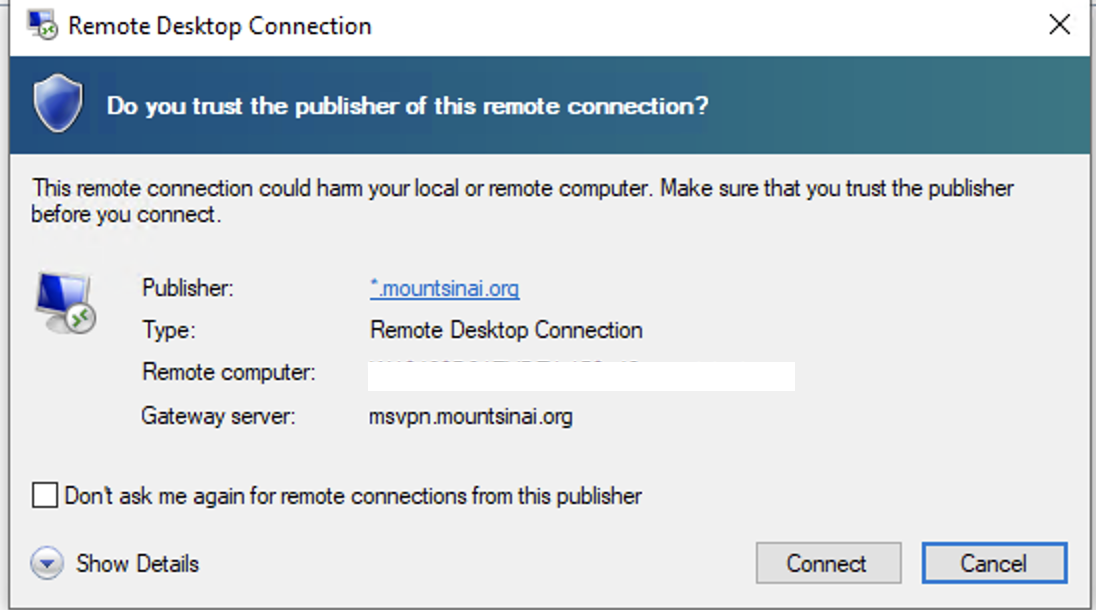
- A window titled “Remote Desktop Connection” will open – click on the “Connect” button
- You will now be logged into your assigned Windows Desktop
Know Issues and Troubleshooting:
Q: I login to the Mount Sinai VPN on a Windows PC but I do not see the RDP icon
A: Your workstation was not added to your AD account. Please contact the Helpdesk to have your workstation’s Fully Qualified Domain Name added to your AD account for RDP access.
Q: The RDP icon appears, but when I click on “Connect” I get the error message “The connection was denied because the user account is not authorized for remote login”
A: Your AD network account was not added to the AD group to allow Remote Desktop Connection. Please contact the helpdesk to have them add your account to the RDP Group for Remote Desktop Connection.
For Any other related VPN issues, Please contact the helpdesk @ 212-241-4357.