VPN Tunnel for Mac
System Requirements: MAC OSX
Note: If user is tunneling in for the first time, they will need to install the F5 Plugin during setup which requires local admin rights.
Logging into VPN
- Launch a web browser and go to the appropriate VPN Portal:
-
-
-
- Hospital Employees: https://msvpn.mountsinai.org
- School Employees: https://msvpn.mssm.edu
- Vendors: https://msvpn-vendor.mountsinai.org
-
-
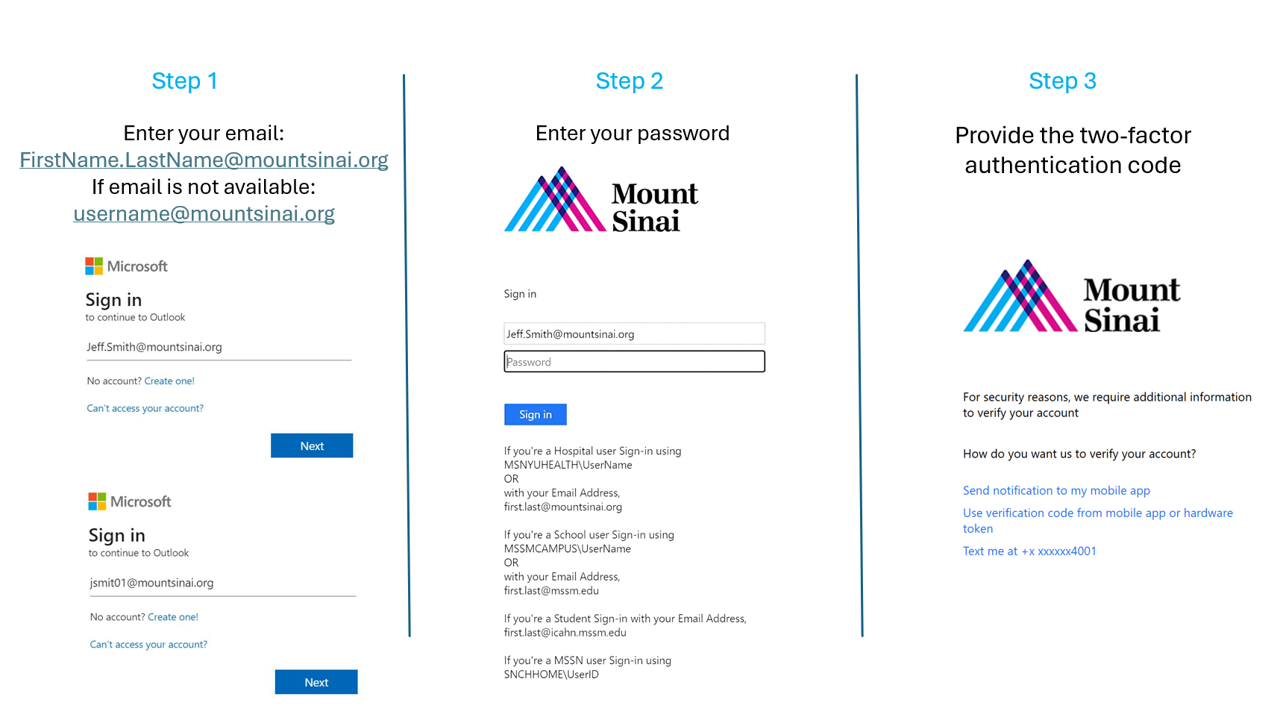
- Login using your email. If you do not have email, use username@mountsinai.org or username@mssm.edu.
- Enter your password
- Select your Microsoft MFA option
 Note: If you do not have a Microsoft MFA, please visit Azure MFA Registration | Academic IT Security for more information.
 -
- Once logged in, the VPN Webtop App launcher page will be displayed. Click on the icon titled “Tunnel
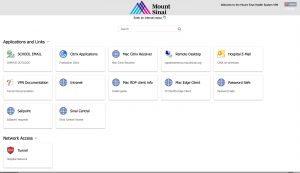 ”
”
Chrome Users:- You will be prompted to install F5 Endpoint Inspection Client; Click Download
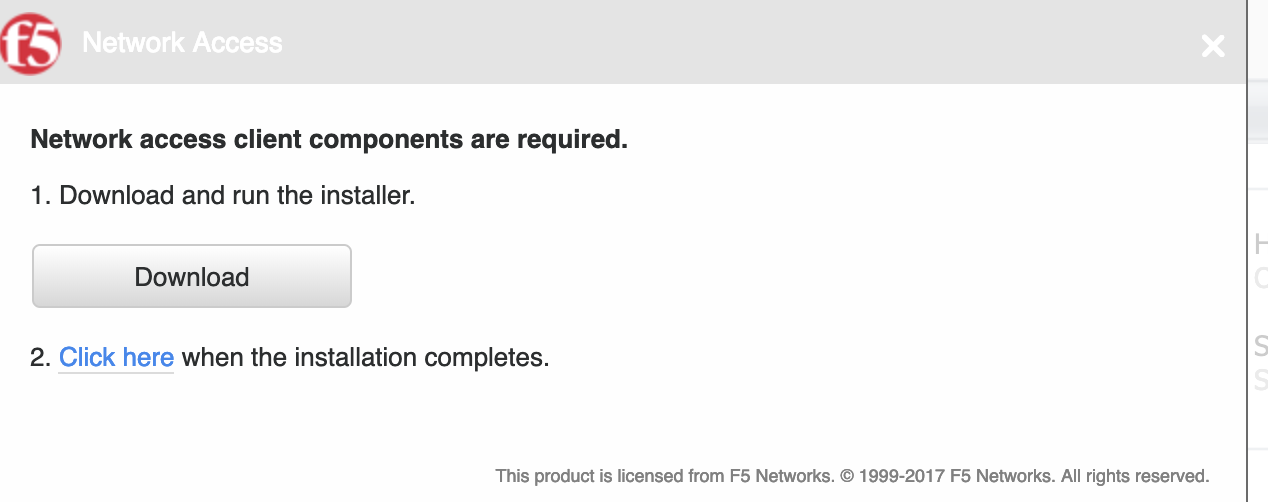
- Click on F5 Download and install (mac_f5vpn.pkg)
- Once it is installed click on, “Click here” when the Installation completes
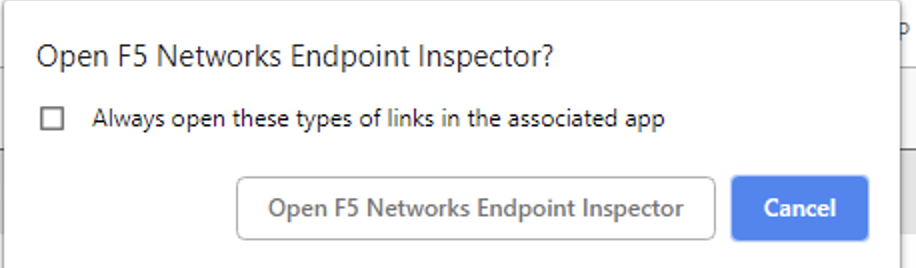
- You will get a popup asking to Open F5 Network Endpoint Inspector – Click on “Always open these types of link in the associated app”
- Click on “Open F5 Network Endpoint Inspector”
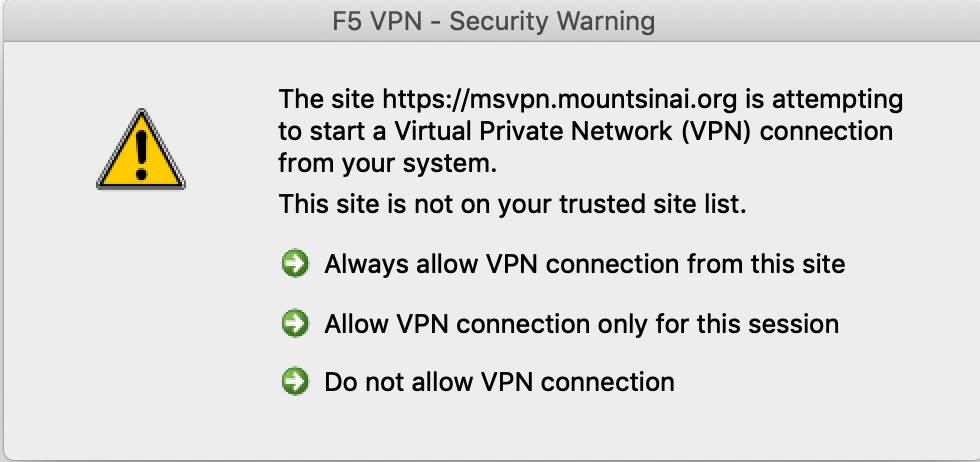
- F5 VPN Security Warning will popup, click on “Always allow your VPN connection from this site”
Safari Users:
-
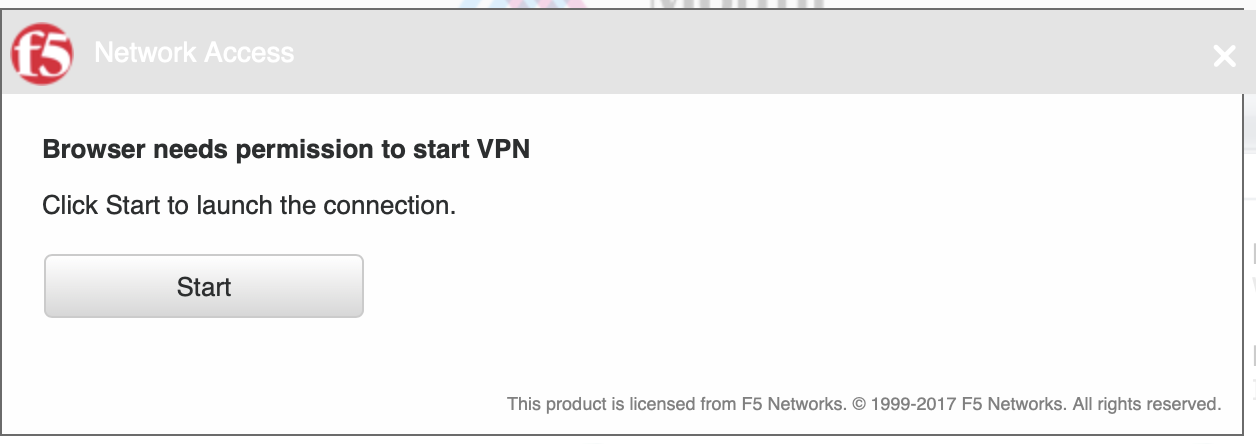
- Click on Start to give the Safari Browser permission to start the VPN process
- You will be prompted to install F5 Endpoint Inspection Client – Click “Download”
- Click on F5 Download and install (mac_f5vpn.pkg)
- Once it is installed click on, “Click here” when the Installation completes
- A new popup will appear, “Do you want to allow this page to open “F5 VPN”, Click on “allow”

- F5 VPN Security Warning will popup – click on “Always allow your VPN connection from this site”
- Click on Start to give the Safari Browser permission to start the VPN process
- You will be prompted to install F5 Endpoint Inspection Client; Click Download
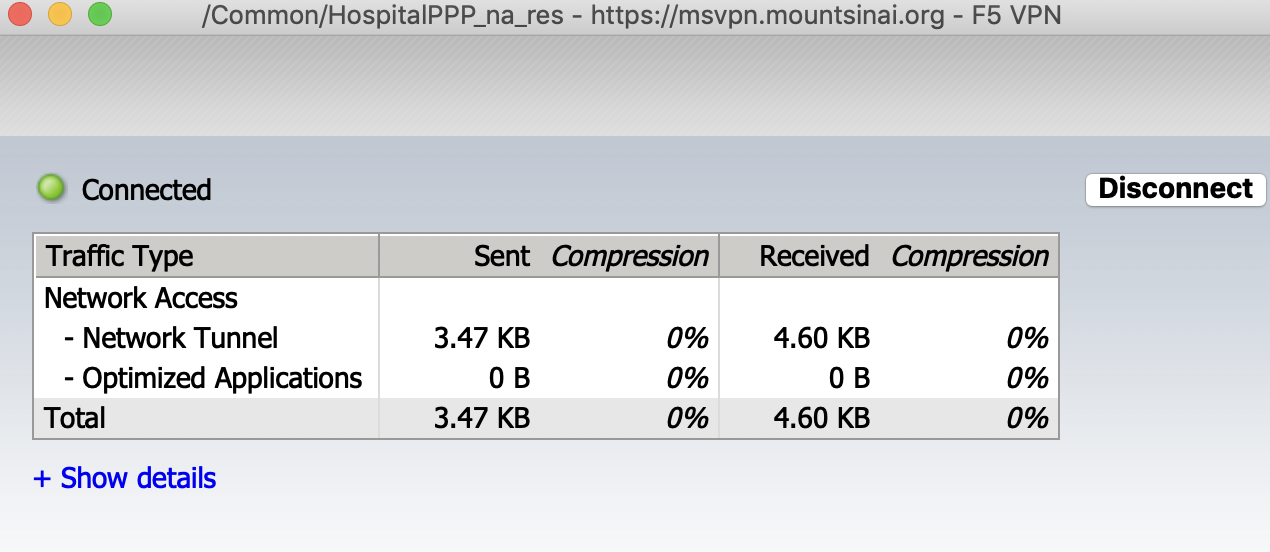
- Another popup will come up – wait until the “Connected” is displayed and then minimize the popup.
- Note if you close out of the popup you will disconnect your self from the Tunnel Session.
- Note if you close out of the popup you will disconnect your self from the Tunnel Session.